I'm all dado'd out. 42 dados, people. Wait a minute. 42. I have the answer to the ultimate question of life, the universe and everything. It's dados, y'all. Just have a little groove in your life. Or maybe it's about give and take. Make a little room in your life for others to fit. I don't know.
Last weekend was spent planning and building my paper/vinyl/stabilizer shelf. I changed my design so many times.


Last weekend was spent planning and building my paper/vinyl/stabilizer shelf. I changed my design so many times.

First, all of the little cubbies for the stabilizers & rolled vinyl were going to be on the side so I could have the 3/4" plywood off center to provide vertical support to the middle of the shelf. Plus, that would help prevent the 1/2" plywood from sagging over time. That plan went by the wayside because it didn't provide the best maximization of space/measurements. And it was getting unnecessarily complicated. I decided to go with the straight forward three rows of cubbies at the bottom with my paper/vinyl shelves at the top.
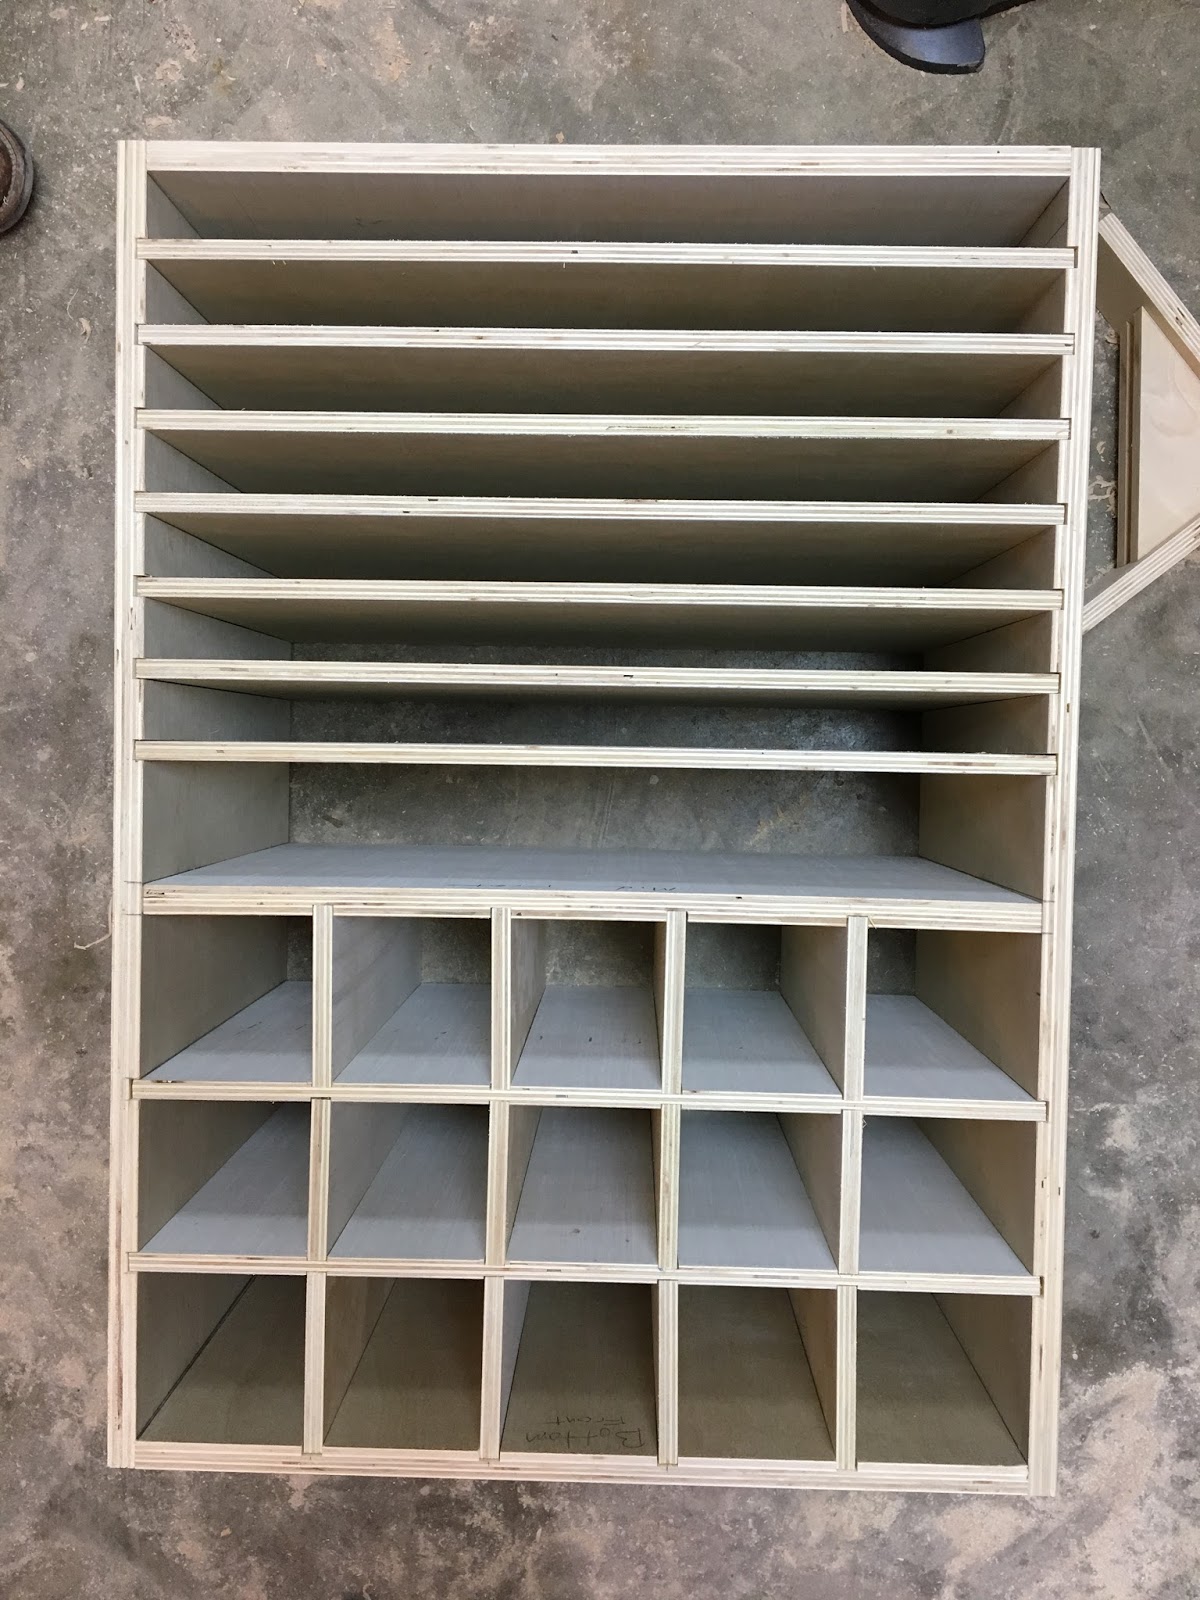
Ta-da! The cubbies are about 3.5-4". Plenty of room for my widest roll of stabilizer. The entire shelf is 14" deep. Also, perfect for my longest roll of stabilizer. The shelves are 1.5" tall. Most books of scrapbook paper are 1" thick so this should allow room for me to grab what's in there. The bottom shelf is 3" tall, enough room to fit the old style paper cutter. It'll be mounted several inches above the table top so my Silhouette can be stored underneath.
Now, here's where I messed up. My original plan called for 7 shelves that were 14" wide and two 23" wide shelves for longer pieces of vinyl. That was plenty of room for the stock I have, plus a little extra room to grow. I don't do a whole lot with vinyl & paper right now, but I have plans of incorporating more into my craft time. Now I have 7 shelves that are 23" wide. That is a whole lot of extra space. Quite a bit more than I need, honestly. But instead of cutting the height of the shelf down, because it's huge, I'm going to leave it. I know that over time I'll have all kinds of things to put in there. I've already designated a couple of shelves for some small patterns that I have cut out that I don't want to fold. I'm considering this a happy accident.
I didn't prime/paint it this week, and it's a good thing because it's going to be altered a little. Because the shelves are so deep, it would be nice to be able to pull them out so I can access the paper a little more easily than trying to reach my hand in there. Once that gets figured out I'll add some facing so the raw plywood isn't exposed on the front, then paint & mount.
The other thing I worked on this week was painting. Woo! More painting. I got two coats of primer on both the table top and the pegboard, plus one coat of paint on both. This week I'll get 1-2 more coats of paint on both and sand them down with a fine grit for a smooth surface. This part is taking so long because I need the coats of paint to dry completely, especially before sanding.
Today I'm planning out the other side of the closet. It's going to be shelves, so nothing exciting about that. Just need to figure out how many and spacing. I've been putting off the drop leaf extension & cart because that's going to be a bear to plan and build. If you haven't already, head over to my Facebook page (@theloreleicaroline). I posted a couple of ideas for the cart and would love some feedback. I'm also going to be posting a poll about how to store paper patterns. Binders? Or magazine holders?
Sorry I didn't have more pictures for this week. For some reason The Doctor felt like he had to supervise me the whole time I was cutting the dados. Which he did. But he could have snapped a picture or two, right?
See you next week!
Comments
Post a Comment